
It could be time to replace the battery if the iPhone 11 Pro Max feels slow and is losing power rapidly. It’s a relatively simple DIY repair which can be completed at home using the appropriate tools.
The only thing you need to make this repair is the suction cup, prying tool, and an adjustable screwdriver with a flat blade.
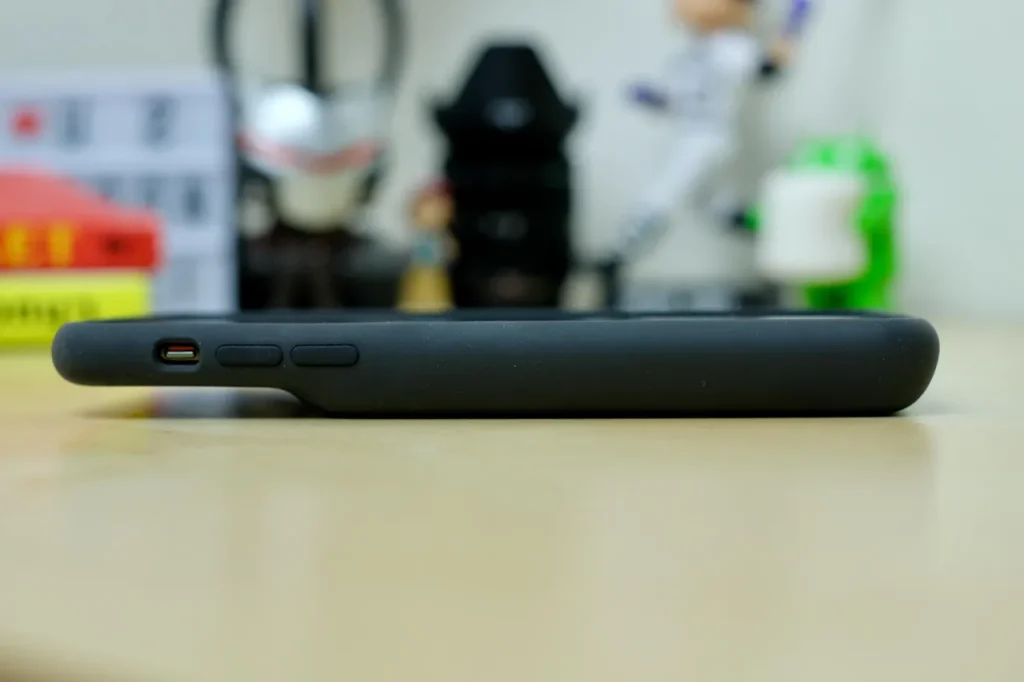
Kit
The battery in your iPhone is expected to last for a while however, it will decline over time. Replace your iPhone battery when it’s insufficient, or if you get the “service warning about battery”.
iFixit’s iPhone 11 Pro Max battery replacement kit comes with all the tools needed to open the phone, remove the old battery and replace it with the new one. It also comes with an extremely high-quality replacement battery that has been tested for durability and quality. This battery is exactly the same size and voltage as the original battery that came with the iPhone.
The process of replacing the battery in an iPhone involves the use of connectors, screws, and adhesive as well as the screen. While it’s feasible for untrained users to change a smartphone’s battery, the process can be risky and may impact the performance of the device. This battery replacement is authentic Apple and has been thoroughly constructed, tested, and certified for security.
The most effective screwdriver to use for iPhone repair is a precise screwdriver equipped with a magnetic socket and knurled grip. Choose a set that includes this tool, which will make opening your iPhone seem effortless. Most iPhone repair kits also include a case that will keep the tools organized and centralized. These cases can be especially useful if you are dealing with lots of small and easily lost components.
You can also find out more information about
As your iPhone ages, its battery gets weaker, resulting in less battery life and the device shutting down. It’s easy to replace the battery at home. You can find detailed instructions and kits, including tools, from companies like iFixit. These are less expensive than sending the device to Apple to repair it and can help you keep your warranty intact by replacing the device yourself.
The kit includes everything you require to take the phone off and change the battery, including a brand new, high-capacity replacement battery that’s been tested in-situ by iFixit to ensure high-quality and consistency. The kit also comes with a number of tools that will help you complete the repair. They include a screwdriver with a magnetic bit socket a knurled handle, and an instrument to take off the tabs of black on each side of your battery.
Start by turning off your iPhone and then remove the two pentalobe screws at the bottom of the phone. Then you can use a suction cup to lift the screen slightly and slide an opening pick around the edges. Then, make use of the spudger to remove the Lightning connector and Taptic Engine from the logic board. Separating the components can be difficult because they are fragile. Make sure the Lightning connector is removed prior to taking it off, and then remove the Taptic Engine to allow the screen to be easier to lift and check this out https://dienthoainhanh.com/thay-pin-iphone-11-pro-max/ to know more.
Screwdriver
You’ll require the correct screwdriver for fixing your iPhone 11 Pro Max. The most suitable screwdriver for this job is a star-shaped tool that can fit into the small screws Apple uses in this phone. These tools are available on sites such as iFixit and iFixit, which offers these tools with a lifetime warranty to protect them.
To start, you’ll need to create a gap between the display and the case. The most efficient method to accomplish this is using the suction cup, however you can also use an electric heat gun or flat stable tool to enlarge the gap. Be careful when creating the initial gap. There’s a flimsy cable that runs along the right side of the display.
Then, you’ll need to take off the adhesive strips that hold the battery in place. Pull the black tabs on each strip slowly, steadily. They could tear if you push too hard or fast. Pull each strip slowly and at a slight angle to avoid getting it on the edge.
After you’ve removed the battery, you can start working on reassembling the phone. Before beginning, disconnect the Lightning connector cable from the logicboard. This will ensure that it is not being accidentally connected during the repair process and leading to a power failure.
You can also DIY
A screwdriver that has a precise tip is the most suitable to replace iPhone 11 Pro Max batteries. The screwdriver must be able to grasp the screw’s head with a firm grip so that it does not slip when it is removed. It is also important to purchase a repair kit that includes a comprehensive repair guide. It can also assist you learn how to unlock the phone and take out the old battery prior to replacing it with the new one.
The package should also include batteries for replacement as well as an assortment of tools. Be careful when handling lithium-ion batteries. Also, make sure your batteries and tools are well-insulated. This will prevent damage to the phone and lower the chance of fire.
If you are replacing an iPhone battery, begin by turning off the phone and taking out the two screws that hold pentalobe at the bottom of the device. The next step is to apply a suction cup to the display’s bottom and slide an opening pick across the edges to divide the screen from the frame. Remove three Y type screws that secure the Lightning flex connector. Then, take off the bracket plate, and then disconnect the digitizer connector.
After you have removed the battery and connectors for flex, you’ll be able to see that the adhesive strips that are on the sides of the battery are beginning to peel up. While holding the battery and phone firmly, you should take care to remove each strip. Make sure that each strip is as flat and smooth as possible in order to prevent it from tears.


